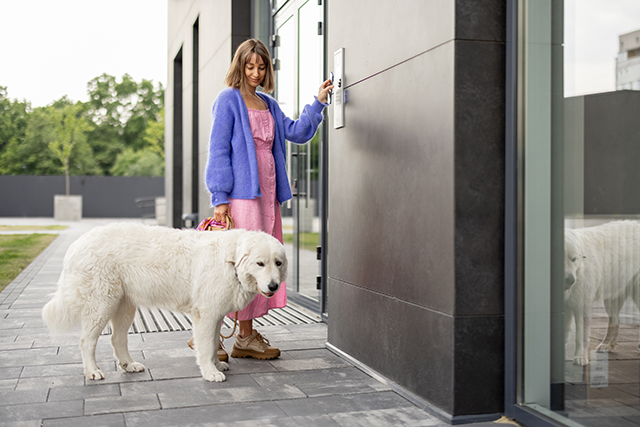
Introduction:
Welcoming a furry friend into your home brings joy, love, and a sense of companionship. To enhance your pet’s life and grant them the freedom to move seamlessly between the indoors and outdoors, a dog door is the key. In this comprehensive guide, we’ll walk you through the process of a DIY dog door installation Sydney, making it a breeze for pet owners.
Why Install a Dog Door?
A dog door allows your canine companion to explore the great outdoors without relying on you to open and close doors constantly. It’s an investment in their well-being, providing mental stimulation, exercise, and the opportunity to answer nature’s call whenever they please. Plus, it can make your life easier too!
Step 1: Choose the Right Dog Door for Your Pooch:
Dog doors come in various shapes and sizes, so it’s essential to select one that suits your dog’s breed and size. Consider the climate in Sydney when choosing a door; opt for models with insulation to combat the heat or cold. Measure your dog’s height and width to ensure a comfortable fit.
Step 2: Measure and Prepare the Installation Area:
Once you’ve chosen the perfect dog door, it’s time to measure and prepare the installation area. Select a location that offers easy access for your dog and suits your lifestyle. Whether it’s a door, wall, or another area, measure and mark the installation space carefully.
Step 3: Gather the Necessary Tools and Materials:
To make the installation process smooth, gather the essential tools and materials. You’ll likely need a jigsaw, a screwdriver, a measuring tape, a pencil, and, of course, the dog door kit, including the frame, flap, and necessary hardware.
Step 4: Mark and Cut the Opening:
Using your measurements, mark the area where the dog door will be installed. With the help of a jigsaw, carefully cut the opening. Always follow the manufacturer’s instructions to ensure precise cutting and a seamless fit for the dog door.
Step 5: Install the Dog Door Frame:
Slide the dog door frame into the cut opening. Use the screws provided in the kit to secure the frame in place. It’s crucial to ensure the frame is level and centered to avoid any issues with the functionality of the door.
Step 6: Attach the Dog Door Flap:
Once the frame is secured, attach the dog door flap according to the manufacturer’s guidelines. Test the flap to ensure it swings freely, allowing your dog to move through it effortlessly.
Step 7: Secure the Dog Door:
Tighten all screws and bolts to ensure the dog door is securely in place. Check for any gaps or loose fittings that might compromise insulation or security. A properly secured dog door will maintain your home’s integrity and keep unwanted pests at bay.
Step 8: Train Your Dog:
After installing the dog door, spend time training your dog to use it. Encourage them with treats and praise, making the experience positive. With a bit of patience, your furry friend will soon master the art of using their newfound freedom.
Dog Door Installation in Sydney:
For pet owners in Sydney looking to enhance their homes with a dog door, professional installation services are readily available. Seeking expert assistance ensures that your dog door is installed with precision and efficiency, catering to the specific needs of your home and the local climate.
Conclusion:
Installing a dog door is an investment in your pet’s well-being and your own convenience. This DIY guide empowers pet owners, making the installation process easy and enjoyable. By following these steps, you’ll open doors to freedom for your furry friend, allowing them to explore the outdoors whenever they please. And for those in Sydney, professional dog door installation services are just a call away, ensuring a seamless integration with your home. Click here if you want us to guide you with dog installation.


